
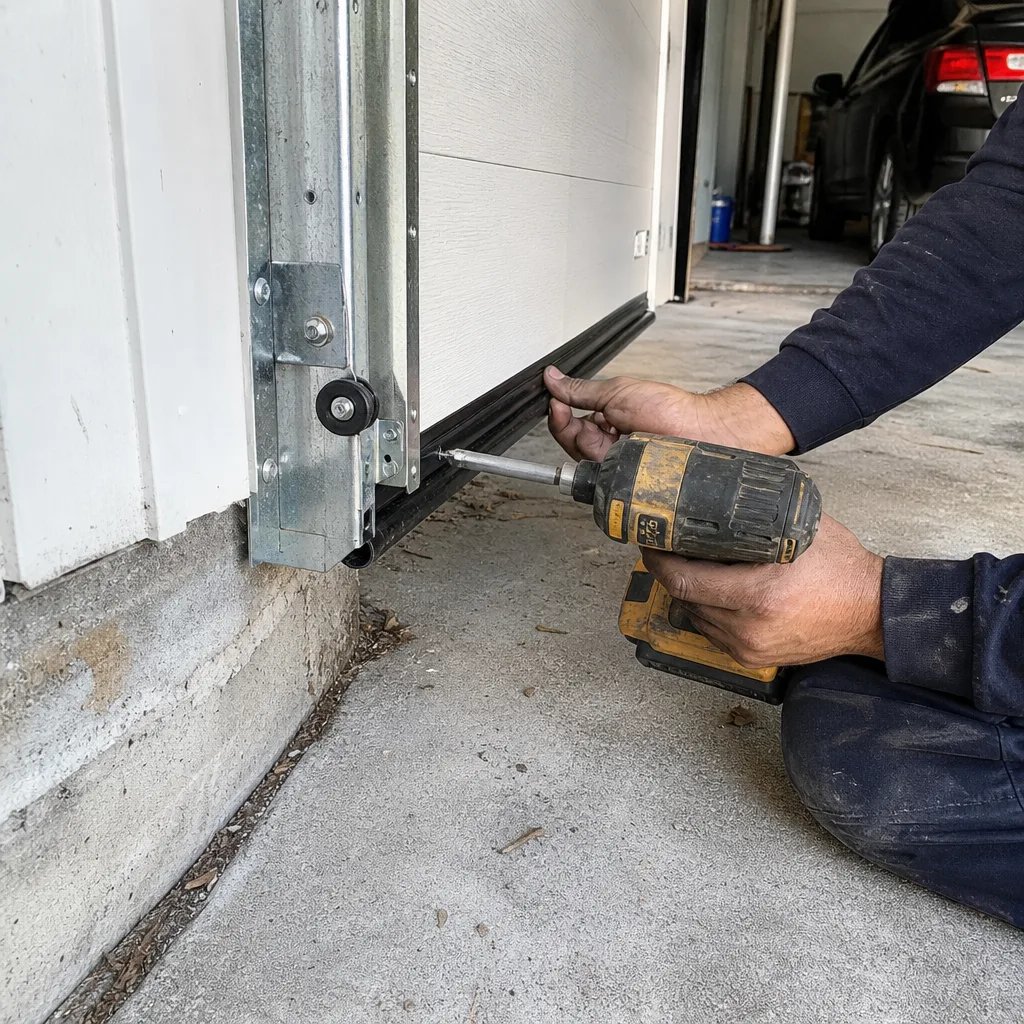
Last updated November 20, 2026
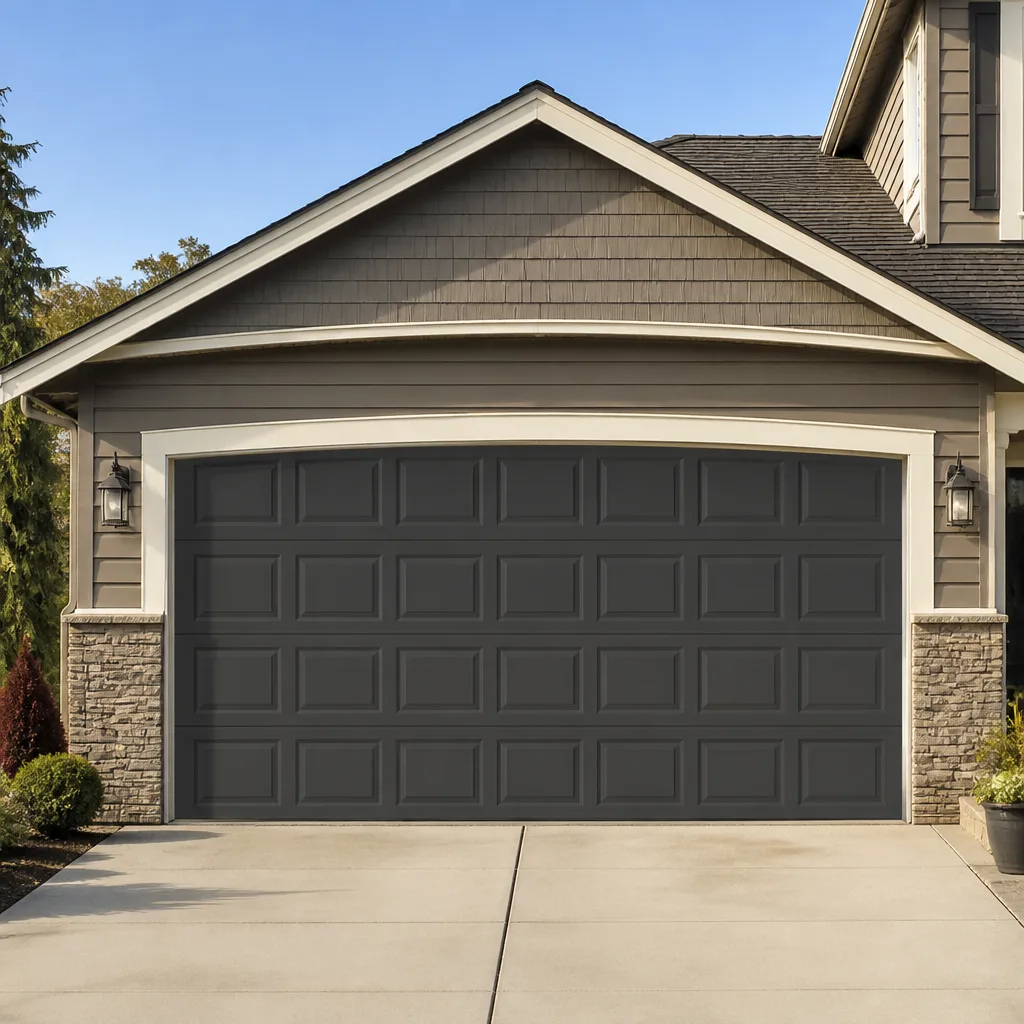 Raised-panel steel
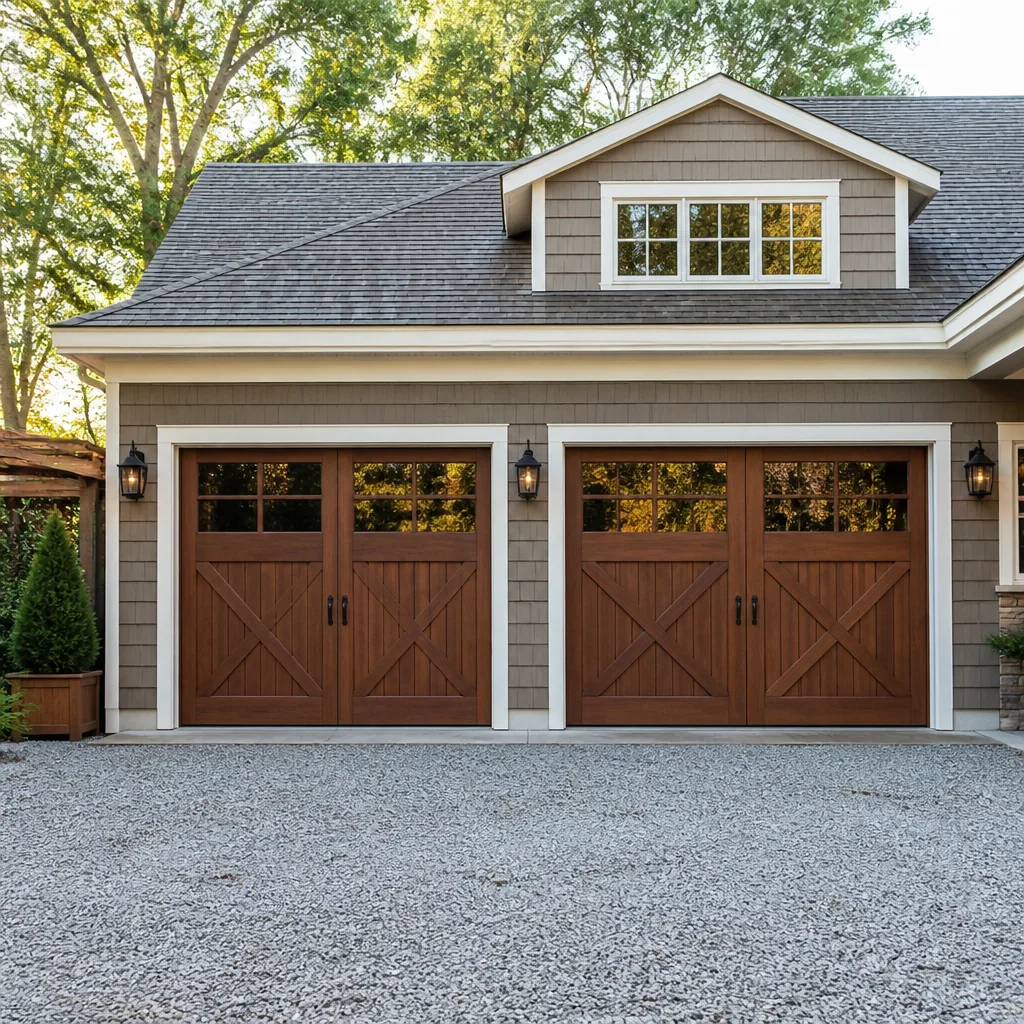 Carriage house
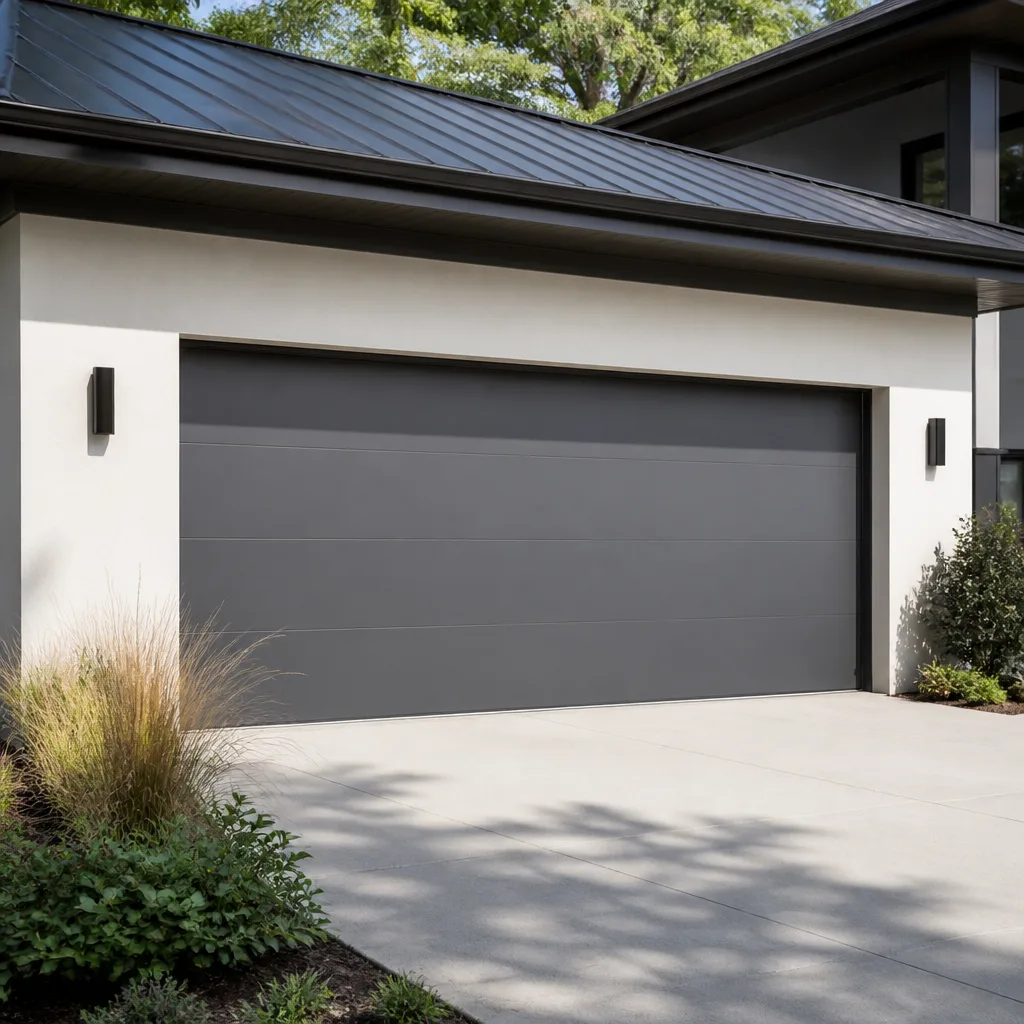 Modern flush
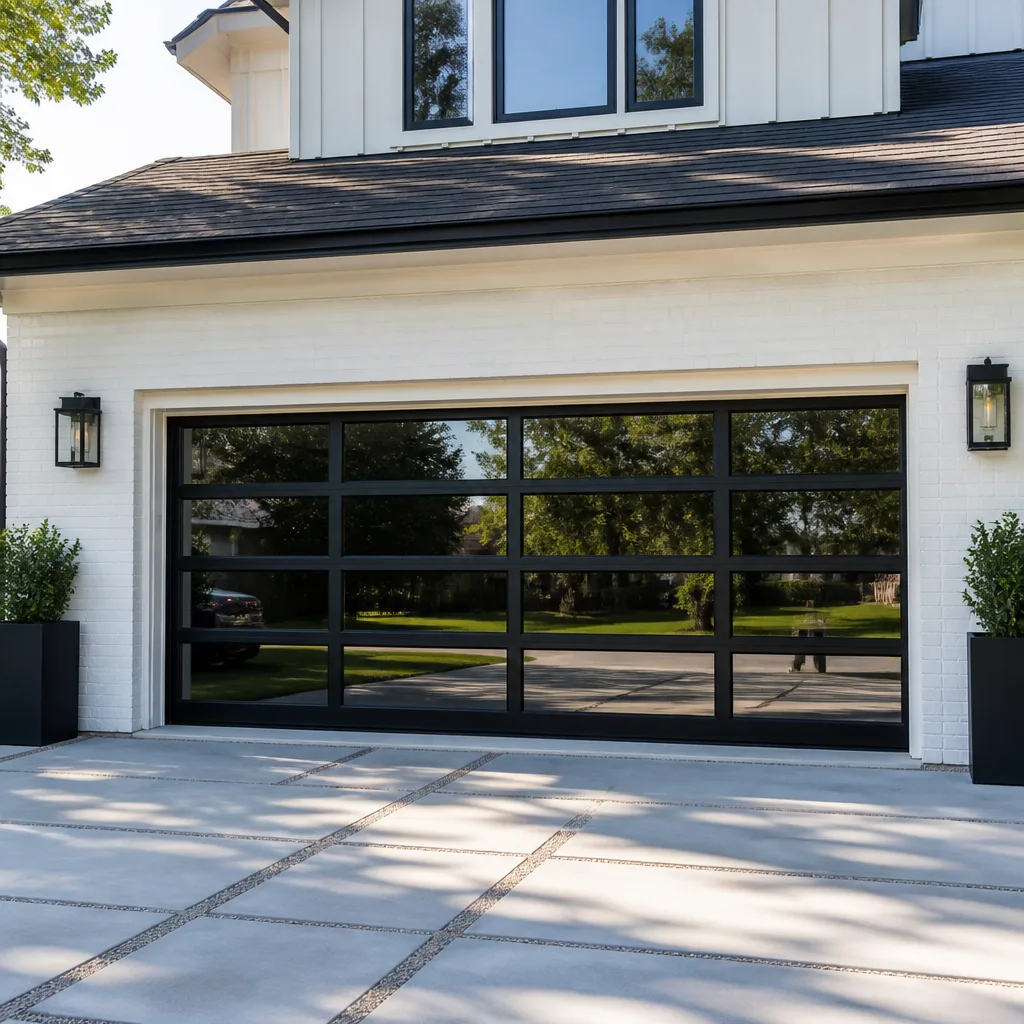 Full-view glass
 LiftMaster openers
 Chamberlain openers
Full 25-point door and opener safety check with every visit - springs, cables, rollers, tracks, and your LiftMaster or Chamberlain opener included
You get a price before we start. It does not change when the pro arrives.
Get your free estimateGarage Door Repair Maintenance Checklist for Westchase Homeowners
Most garage door maintenance advice recycles the same five tips: lubricate the chain, test the balance, check the sensors. Meanwhile, the calls that fill our schedule across Westchase tend to come from three failures those lists never mention. Corroded torsion hardware from Gulf Coast humidity. Bottom sections that swelled from the same damp air. Photo eyes that drifted out of line after a temperature swing. In our experience, a handful of small checks catch these problems long before they become a spring snapping or a door that won’t close. This guide is built backward from what actually fails in Westchase homes, and it splits every task into what you can safely do yourself and what belongs with a trained technician.
Quick Answer
A garage door maintenance checklist for Westchase homeowners should cover monthly safety tests (sensors, balance, reverse function), seasonal corrosion and moisture checks driven by local humidity, and annual professional service of springs, cables, rollers and the opener. Roughly two-thirds of the tasks are DIY-safe; spring tension, cable replacement and any opener wiring should always go to a trained technician.
Styles & brands we work with
- Raised-panel steel
- Carriage house
- Modern flush
- Full-view glass
- LiftMaster openers
- Chamberlain openers
Table of Contents
- Organizing Your Checklist by Risk Level
- The Monthly Checks That Take Under Fifteen Minutes
- The Humidity Problem: Corrosion Points Standard Lists Skip
- Bottom Section and Seal Inspection for Swollen Wood
- Testing Photo-Eye Alignment After Temperature Swings
- Interval Guide: Monthly, Seasonal and Annual Tasks
- What a Professional Tune-Up Should Cover
- Brand-Specific Notes for Common Westchase Doors
Organizing Your Checklist by Risk Level
Not all garage door maintenance is equal, and treating it that way is the fastest way to get hurt. Before you touch anything, sort every task into one of three buckets: things you can do with a rag and a screwdriver, things that need a ladder and a cool head, and things that belong to a trained technician. We’ve seen homeowners do the first two categories for years without a problem. The third is where injuries happen.
DIY-safe: wiping down tracks, lubricating rollers and the torsion bar surface, cleaning the photo eyes, testing the balance, checking the weather seal and looking at the bottom section for swelling. None of this involves fighting the spring.
DIY with care: tightening track bolts and hinge screws, adjusting the force and travel limits on your opener (using the manual, not guesswork), and clearing debris from the tracks. These need a stable ladder and a helper, but they don’t put stored energy in your hands.
Technician-required: spring replacement or adjustment, cable replacement, drum work, bottom bracket service, and any opener wiring or logic board repair. A torsion spring under load can cause serious injury in an instant, and the bottom bracket is the single most dangerous component on the door because it holds the cable under tension. If a task crosses into that territory, stop and call a professional. Every Westchase homeowner we talk to respects that line once they understand it, and it’s the reason specializing matters more than general handyman coverage.
The Monthly Checks That Take Under Fifteen Minutes
A ten-minute walk-around once a month catches most problems while they’re still cheap. These are the same visual checks our technicians start with, and none of them require tools beyond a rag and a screwdriver.
- Test the photo eyes. Close the door and wave an object between the two sensors near the floor. If the door doesn’t reverse, adjust or clean the lenses before using the door again.
- Test the force reverse. Lay a roll of paper towels flat under the door and lower it. The door should reverse on contact, not press down.
- Check the balance by hand. Pull the release cord, lift the door halfway, and let go. A balanced door holds position. One that slams down or drifts up needs a technician.
- Wipe the tracks. Run a damp rag along the inside of the vertical and horizontal tracks to clear grit and insect debris.
- Look at the rollers. Worn nylon rollers that wobble on their stems will eventually jump the track.
- Eyeball the seals. Gaps at the bottom or sides mean the seal is failing and need replacing.
If any of these reveal a problem, that’s when a garage door repair visit resolves it before it becomes a breakdown. Small fixes during a routine check are always simpler than the same fix after a door comes off track.
The Humidity Problem: Corrosion Points Standard Lists Skip
Westchase sits in a humid subtropical climate, and that changes which parts of a garage door wear out first. Standard checklists were written for drier climates, so they focus on rollers and tracks while ignoring the parts most affected by humidity. In our experience, three specific spots collect corrosion and mechanical wear that lead to the tightest, most common failures:
- The torsion bar. Rust forms where the springs are seated and creeps along the bar. Once a spring’s coils corrode together, the spring loses range and breaks under normal use. Wiping the bar with a light lubricant keeps rust from getting a foothold.
- The cable drums. Moisture collects in the drum housing, and the cable can fray where it wraps. A frayed cable is a failure waiting to happen. Inspect for broken strands and call a technician before it lets go.
- The bottom bracket. This is the part that anchors the cable at the base of the door, and humidity-driven rust here is common. Never try to loosen or adjust it yourself: the bracket holds the cable under tension, and it can cause serious injury. It should only be inspected, and replaced if needed, by a trained technician.
Add these three spots to your quarterly walk-around. In a Westchase garage, they degrade faster than the hardware most checklists tell you to watch. Every spring we service is inspected for corrosion and cable wear, and if a cable is frayed, we replace it in the same visit rather than scheduling a return trip.
Bottom Section and Seal Inspection for Swollen Wood
The bottom section of your garage door absorbs more moisture than any other part of it. The rubber seal sits on the slab, where humidity from the floor meets the door directly, and in a Westchase summer that strip stays damp for days. On wood doors, especially older units, this is where rot and swelling start. On steel doors wrapped over wood or composite cores, the same spot is where the paint cracks first and rust starts underneath.
What to check, and how:
- Run your hand along the bottom edge of the door and press gently. Soft or spongy wood means moisture has gotten in.
- Look for bubbling paint, discolored streaks, or visible swelling where the panels meet.
- Check the rubber seal for cracks, gaps, or a hardened, brittle feel. A seal that has dried out or hardened lets water slip under the door.
- Shine a light from inside the closed garage and check for daylight at the bottom gap.
If the bottom section is swollen, it stops sealing against the threshold, which invites more moisture in and can lead to panel cracking over time. A garage door installation is usually more sensible than patching a badly rotted bottom section, and if only one section has failed, a parts replacement can restore the door without a full install. A Clopay or Amarr panel is often available as a direct replacement. On our side of the work, this is where brand fluency matters: knowing which bottom sections are still in production for which door line prevents guesswork.
Testing Photo-Eye Alignment After Temperature Swings
Photo eyes drift. That’s the simple fact behind a whole class of “door won’t close” calls. The sensors sit near the floor on brackets, and thermal expansion between a hot Houston summer and a cooler winter changes the door and the brackets just enough to knock the two eyes out of line. The symptom looks serious, but the fix is often a two-minute adjustment.
How to test alignment:
- Look at each sensor and confirm the small indicator LED is lit. A dark or flickering LED is the first sign of a problem.
- Send a beam from one eye to the other. If the door refuses to close, or reverses immediately, misalignment is the leading suspect.
- Wipe the lens with a soft cloth. Dust, cobwebs and lawn debris are enough to block the beam.
- If the eyes look visibly tilted, loosen the mounting bracket and nudge them back into a straight line. This is a DIY-safe adjustment.
- After a temperature swing, repeat the test. If drift returns every season, the brackets need replacement or the eyes need a professional adjustment.
This is one of the most common reasons a door refusing to close gets resolved in a single visit to Westchase homes. A sensor that looks fine can be slightly off target, and the LED indicator is the tell. If you have a Genie or LiftMaster opener, the indicator light pattern itself tells you what the system sees, and our technicians read it the same way. If the door still won’t close after basic cleanup, stop forcing it and call a professional: repeated cycling against a misaligned sensor stresses the opener’s gears.
Interval Guide: Monthly, Seasonal and Annual Tasks
Here’s a straightforward schedule you can put on the calendar. Each interval groups the tasks above so you’re not scrambling to remember what you’ve checked.
Every month (10-15 minutes): photo-eye test, force reverse test, balance check by hand, visual roller inspection, seal check.
Every season (20-30 minutes): lubricate rollers, hinge pivots and the torsion bar surface; wipe tracks; inspect the bottom edge for moisture damage; check the photo-eye alignment after any temperature swing; test the opener’s emergency release.
Once a year (60+ minutes): full opener service (belt, chain or screw drive, depending on the unit), a full spring and cable inspection, roller replacement if worn, and a review of the weather seal and bottom section.
If you have a newer Wayne Dalton or Chamberlain smart opener, check the app for diagnostic alerts once a month. Those alerts often flag a sensor intrusion or force-limit issue before you notice the door acting up. Add a call to a professional to your annual list as well. A trained technician will catch spring corrosion and cable fray that no homeowner can see from ground level, and the garage door opener repair side of that annual check is where smart-system faults live. When you book a repair or service appointment in Westchase, call us for a free estimate. We answer 24/7. Fast dispatch from 7am to 7pm.
What a Professional Tune-Up Should Cover
A proper tune-up is more than a visual walk-around. Here’s what a trained technician should inspect, and what we check on every service visit:
- Springs: coil condition, corrosion, and load balance. Worn or heavily rusted springs get replaced one at a time, and a matched pair is replaced together.
- Cables: frayed strands, loose crimps, and drum wear. A frayed cable is replaced on the spot, not left for a return trip.
- Bottom brackets: rust and cable tension. This is a technician-only task because of the stored energy in the cable.
- Rollers and hinges: replace worn nylon rollers, tighten or replace hinges that squeak or wobble.
- Tracks: check alignment and tighten loose bolts.
- Opener: test the force and travel limits, inspect the logic board and drive system, check the battery backup and safety reverse.
- Weather seal: replace the seal if it’s cracked or hardened.
The whole visit usually takes about an hour, and it’s the difference between catching a failing spring early and having it snap mid-cycle. We carry OEM-compatible parts for all eight brands we service, so most tune-up findings get resolved on the same visit. That’s the reason we treat spring repair as a core service rather than something we hand off. Our technicians have up to 11 years of experience with the high-risk parts of the door, and springs are the highest-risk job on the system. This is not a DIY repair.
Brand-Specific Notes for Common Westchase Doors
Every brand has its quirks, and knowing them makes maintenance smoother. Westchase driveways carry a wide mix of systems, and a few brand notes are worth keeping in mind.
- Clopay and Amarr: both make steel and wood-grain insulated door lines common on newer homes. The bottom sections on their wood-grain finishes need extra attention in this climate because moisture can get into seams and cause paint to lift.
- Wayne Dalton: many units use their proprietary torsion systems. Replacement springs and cables need the right spec, so matching parts matters, which we stock or source for the eight brands we service.
- Genie: openers on older fixed-code models can suffer from remote interference. If a remote stops working, a new logic board or a fresh battery is often the answer.
- LiftMaster and Chamberlain: both modern units are smart-home ready and provide diagnostic feedback through the app. Keep the app alerts flowing, because sensor drift and force faults show up there before the door starts failing.
- Craftsman: legacy systems still run strong in many Westchase garages. Parts are still obtainable, but the analog logic boards need a careful eye for capacitor wear.
- Raynor: their commercial-grade tracks and rollers hold up well, but the tension on heavier doors is worth checking annually.
Knowing the brand narrows the diagnosis fast. It’s the reason we keep so many parts on hand and why we can handle everything from a Genie that won’t open to a full new door. Learn more about Westchase Garage Door Repair, or call for a hands-on look at any brand on your door.
Common Mistakes to Avoid
- Ignoring the torsion bar corrosion. It’s the one wear item most checklists skip, and in our humid climate it’s the leading cause of premature spring failure. Wipe the bar down and look for rust, even when the springs look fine.
- Forcing a door that won’t close. Repeated tries against a misaligned sensor or a failing spring damage the opener and can snap a cable. If it won’t close, stop and get it checked.
- Greasing the tracks. Lubricant on the tracks collects grit and causes the rollers to slip. Lubricate the rollers and hinges, not the rails.
- Trying to adjust a spring yourself. This is the most common serious-injury decision we hear about. Springs are the most dangerous component of the system, and this is not a DIY repair.
- Patching a swollen bottom section. Patching won’t stop the moisture or restore the seal. A panel or seal replacement is the actual fix.
- Skipping the post-summer check. After a Westchase summer, spring corrosion, seal wear and photo-eye drift are all at their worst. That late-summer walk-around is when most problems are still small.
- Assuming an annual tune-up is enough. It’s the base layer. The monthly and seasonal tasks are what catch the three most common failures before they cause a breakdown.
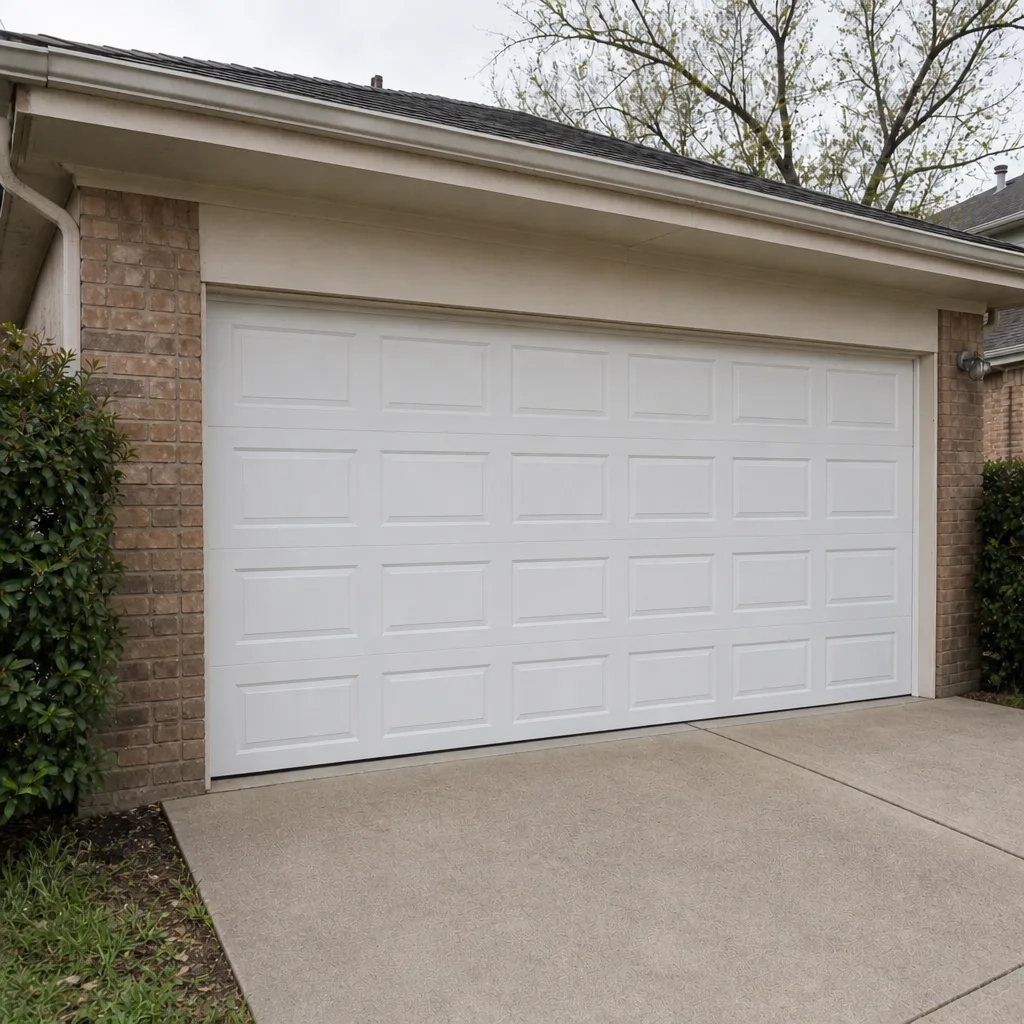
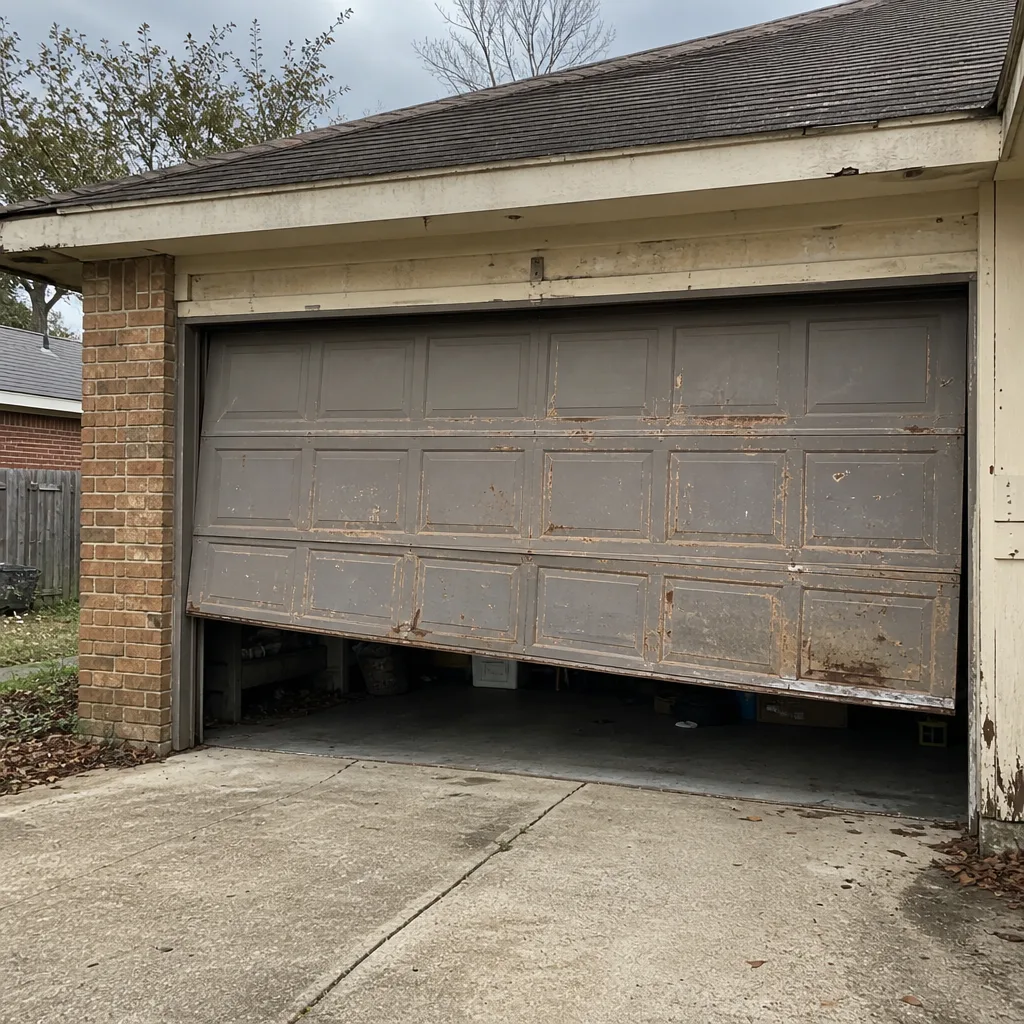
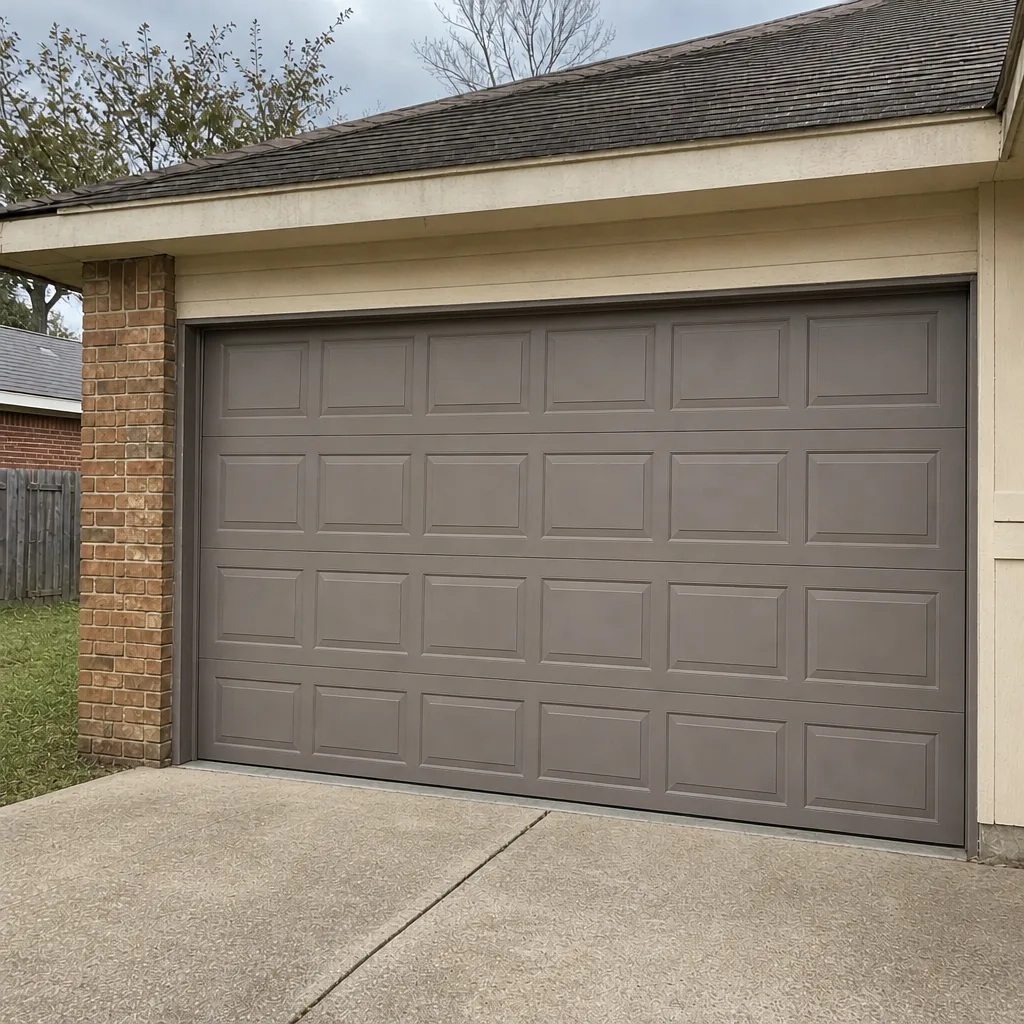
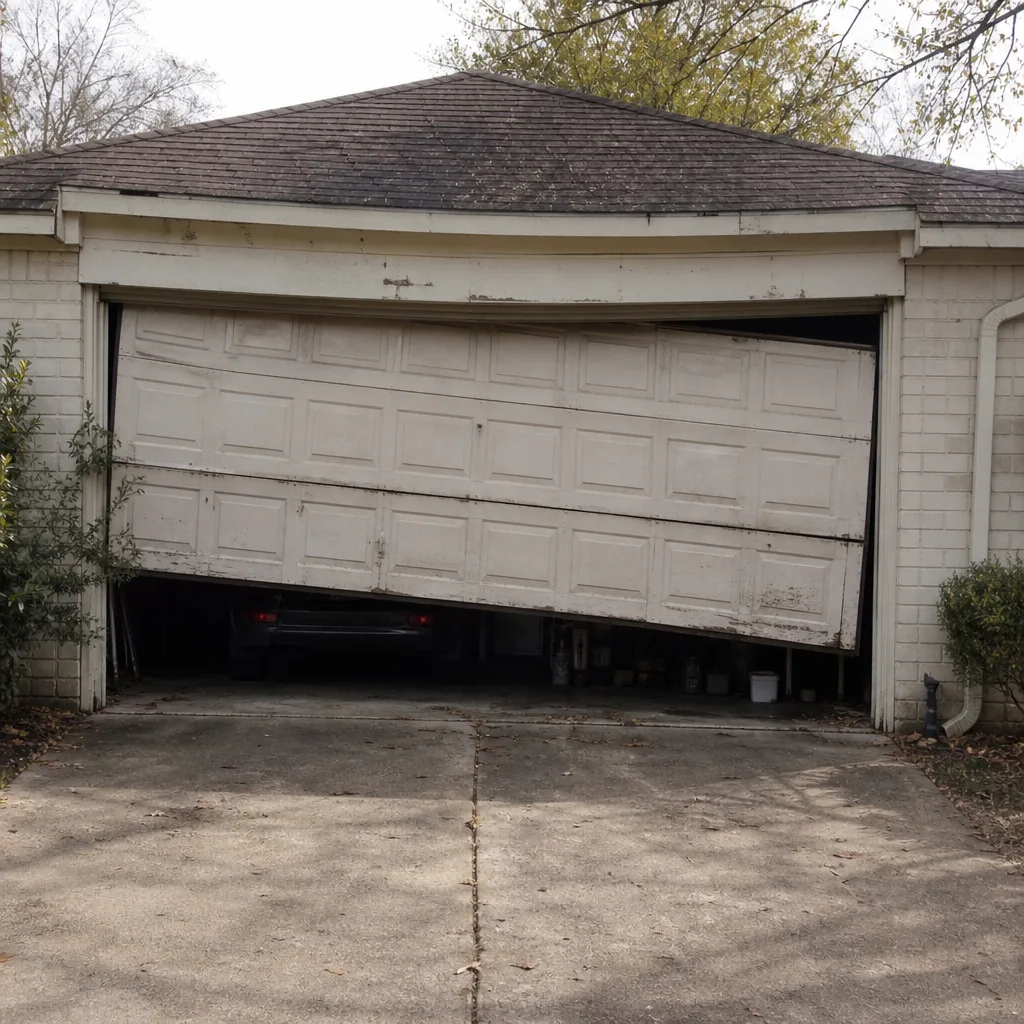
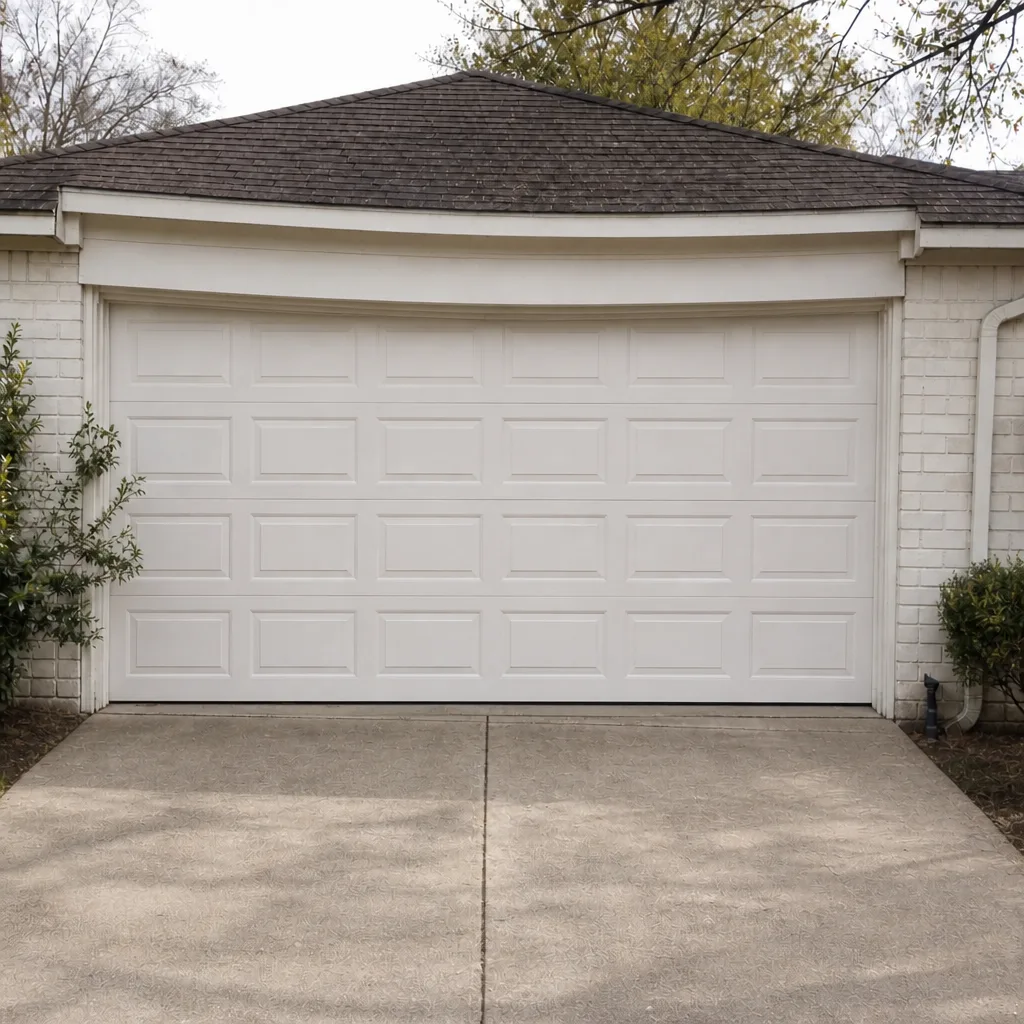
See the difference
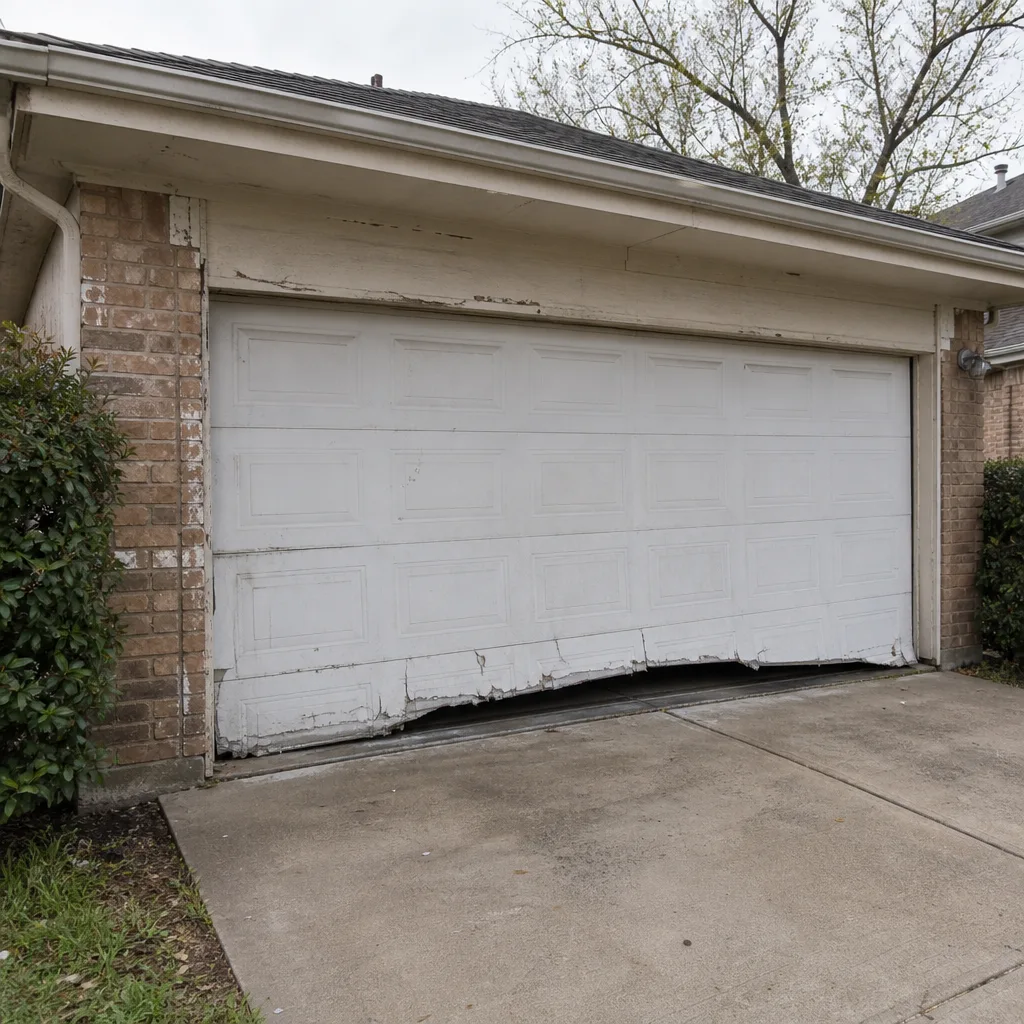 Before
 After
 Before
 After
 Before
 After
When to Call a Professional
Some problems are beyond a DIY checklist, and calling early saves both money and risk. Call a professional when a spring is visibly rusted, broken, or sagging; when a cable is frayed or disconnected; when the door comes off its track; when the opener runs but the door doesn’t move; when the door is badly out of balance; when the bottom bracket or drum shows corrosion and wear; or when a panel or seal leak lets water into the garage. These are all jobs our technicians handle. Westchase Garage Door Repair offers free estimates in Westchase. Call (866) 690-3896. We answer 24/7. Fast dispatch from 7am to 7pm, Sunday through Friday.
Frequently Asked Questions
Most Westchase homes benefit from an annual professional tune-up, plus monthly DIY safety checks and a seasonal humidity and corrosion walk-around. The annual service catches spring and cable wear that regular checks can’t see. It’s the base layer, and the smaller checks fill the gaps. The local humidity shortens the useful life of springs and seals compared with drier climates, so seasonal checks matter more here than the generic lists suggest.
No. Springs are the most dangerous component of your garage door system, and this is not a DIY repair. Torsion springs store energy that can cause serious injury in an instant. Call (866) 690-3896 and we’ll handle the spring safely. An estimate is free, and we’ll explain what’s involved.
Temperature swings throw photo-eye alignment out of line, and the door reverses or refuses to close as a result. The fix is often a two-minute sensor adjustment. Wipe the lenses, check the LED indicators, and nudge the brackets straight. If the drift keeps returning, the opener may need a professional adjustment.
Soft or spongy wood along the bottom edge, bubbling paint, visible swelling, or a seal that no longer sits flat all point to moisture damage. In Westchase’s humid air, bottom sections are the most exposed part of the door. If the damage is limited, a panel or seal replacement restores the door. If the rot is deep, an installation is usually the better path.
Spring calls, opener repairs and installations should always be handled by a trained, insured specialist. Westchase Garage Door Repair works with local professionals who are vetted for the job. When we arrive, you’ll get a free estimate with the price quoted and agreed before any work starts. Call (866) 690-3896 for details.
We service eight of the most widely installed residential brands: LiftMaster, Chamberlain, Genie, Clopay, Amarr, Wayne Dalton, Craftsman and Raynor. That range covers almost every door and opener Westchase homeowners have. Call with the brand name and model number if you know them, and we’ll confirm parts availability before the visit.
The written estimate sets the price, and it’s agreed before any work starts. The checklists in this guide cover what to look for, and the visit confirms it. If the technician finds a related issue – a frayed cable with a worn spring, for example – you’ll be told before anything is touched. Call (866) 690-3896 and estimates are free.
The Bottom Line
Garage door maintenance in Westchase works best when it’s built around what actually fails here, not what a generic checklist says. Corroded torsion hardware, moisture-swollen bottom sections and drifting photo eyes account for a huge share of local service calls, and all three show up long before a door breaks down. Test the safety features every month, check the corrosion points every season, and book an annual professional tune-up. Handle the DIY-safe tasks confidently. Leave tensioned springs, cables and any opener wiring to a trained technician, because the risk there is real. The full system – opener, springs, panels, parts – stays with one specialist rather than a generalist. Call (866) 690-3896 for a free estimate. We answer 24/7. Fast dispatch from 7am to 7pm, Sunday through Friday. We’re closed on Saturdays.
Written by the team at Westchase Garage Door Repair.